• -$10.00
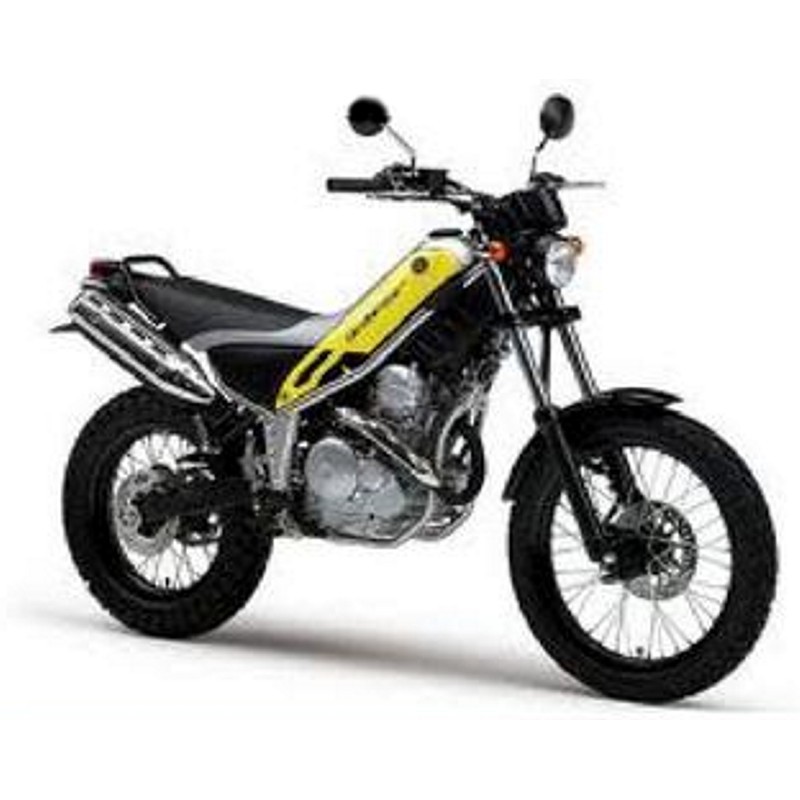
Yamaha XG250 - Service Manual - Taller - Reparation - Reparaturanleitung - Officina
search
  • Yamaha XG250 - Service Manual - Taller - Reparation - Reparaturanleitung - Officina

Yamaha XG250 - Service Manual - Taller - Reparation - Reparaturanleitung - Officina

$29.95
$19.95 Save $10.00
No tax
Quantity

YOUTUBE Official Channel @SoloPDFcom (+18,000 subs). Trusted by mechanics worldwide using professional workshop manuals and wiring diagrams.

Yamaha XG250 - Service Manual - Taller - Reparation - Reparaturanleitung - Officina

Digital technical documentation with sections on IDENTIFICATION, Vehicle identification number, Model label. Review the complete contents below for the systems and procedures covered.
Manual contents

  • GENERAL INFORMATION
  • - IDENTIFICATION
  • Vehicle identification number
  • Model label
  • Engine serial number
  • - IMPORTANT INFORMATION
  • Preparation for disassembly and disassembly
  • Spare parts
  • Gaskets, oil seals and O-rings
  • Lock washers/lock plates and
  • split pins
  • Bearings and oil seals
  • elastic rings
  • - CHECKING THE CONNECTIONS
  • SPECIAL TOOLS
  • SPECIFICATIONS
  • - GENERAL SPECIFICATIONS
  • - ENGINE SPECIFICATIONS
  • - CHASSIS SPECIFICATIONS
  • - ELECTRICAL SYSTEM SPECIFICATIONS
  • - TIGHTENING TORQUES
  • General tightening torque specifications
  • Engine tightening torques
  • Chassis tightening torques
  • - GREASE POINTS AND TYPES OF LUBRICANT
  • Engine
  • Chassis
  • - TABLE AND DIAGRAMS OF THE GREASE SYSTEM
  • Engine lubrication chart
  • Greasing diagrams
  • - CABLE ARRANGEMENT
  • PERIODIC CHECKS AND ADJUSTMENTS
  • - PERIODIC MAINTENANCE
  • Introduction
  • Chart for periodic lubrication and maintenance
  • - ENGINE
  • Valve clearance adjustment
  • Checking the exhaust gas
  • Checking the exhaust gas
  • Engine idle adjustment
  • Throttle cable slack adjustment
  • Checking the spark plug
  • Compression pressure measurement
  • Checking the engine oil level
  • Engine oil change
  • Clutch cable slack adjustment
  • Replacing the air filter element
  • Checking the carburetor gasket and
  • Intake manifold
  • Checking the fuel line
  • Checking the cylinder head breather tube
  • Checking the exhaust system
  • - CHASSIS
  • Front disc brake adjustment
  • Rear disc brake adjustment
  • Checking the brake fluid level
  • Checking the front brake pads
  • Checking the rear brake pads
  • Checking the front brake pipe
  • Checking the rear brake pipe
  • Rear brake light switch adjustment
  • Bleeding the hydraulic brake system
  • Drive chain slack adjustment
  • Drive chain lubrication
  • Checking and adjusting the column
  • Address
  • Checking the front fork
  • Checking the tires
  • Checking the wheels
  • Checking and adjusting the spokes
  • Checking and lubricating the cables
  • Lubricating the levers
  • Pedal lubrication
  • Side stand lubrication
  • Rear suspension lubrication
  • - ELECTRIC SYSTEM
  • Checking and charging the battery
  • Checking the fuses
  • Changing the headlight bulb
  • Headlight beam adjustment
  • CHASSIS
  • - CHASSIS, GENERAL
  • - FRONT WHEEL
  • Front wheel removal
  • Checking the front wheel
  • Front wheel removal
  • Checking the gear unit
  • Speedometer
  • Front wheel assembly
  • Static front wheel balancing
  • Installing the front wheel (disc)
  • - REAR WHEEL
  • Disassembling the rear wheel (disc)
  • Checking the rear wheel
  • Rear wheel removal
  • Checking and replacing the wheel sprocket
  • Rear
  • Rear wheel assembly
  • Static rear wheel balancing
  • Installing the rear wheel (disc)
  • - FRONT BRAKE
  • Introduction
  • Checking the front brake disc
  • Changing the front brake pads
  • Disassembly of the front brake caliper
  • Disassembling the front brake caliper
  • Checking the front brake calipers
  • Front brake caliper assembly
  • Installing the front brake caliper
  • Disassembly of the front brake master cylinder
  • Checking the front brake master cylinder
  • Assembling the front brake master cylinder
  • Installing the front brake master cylinder
  • - BACK BRAKE
  • Introduction
  • Checking the rear brake disc
  • Changing the rear brake pads
  • Disassembling the rear brake caliper
  • Rear brake caliper disassembly
  • Checking the rear brake caliper
  • Rear brake caliper assembly
  • Installing the rear brake caliper
  • Disassembly of the rear brake master cylinder
  • Checking the rear brake master cylinder
  • Rear brake pump assembly
  • Installing the rear brake master cylinder
  • - HANDLEBAR
  • Handlebar removal
  • Checking the handlebar
  • Handlebar installation
  • - FRONT FORK
  • Disassembly of the front fork bars
  • Disassembly of the front fork bars
  • Checking the fork legs
  • Lead
  • Assembling the front fork bars
  • Installing the front fork legs
  • - STEERING COLUMN
  • Bottom Bracket Disassembly
  • Checking the steering column
  • Steering column installation
  • - REAR SHOCK ABSORBER ASSEMBLY
  • Rear shock absorber manipulation
  • Dispose of a rear shock absorber
  • Disassembly of the rear shock absorber assembly
  • Checking the shock absorber assembly
  • Rear
  • Installing the rear shock absorber assembly
  • - SWING
  • Swingarm disassembly
  • Checking the swingarm
  • Swingarm assembly
  • - CHAIN ​​TRANSMISSION
  • Drive chain removal
  • Checking the drive chain
  • Checking the motor sprocket
  • Checking rear wheel sprocket
  • Drive chain assembly
  • ENGINE
  • - ENGINE DISASSEMBLY
  • Engine installation
  • - HEAD
  • Cylinder head disassembly
  • Checking the cylinder head
  • Checking the chain guides
  • Distribution
  • Checking the chain tensioners
  • Distribution
  • Cylinder head assembly
  • - ROCKER AND CAMSHAFT
  • Removal of rocker arms and camshaft
  • Checking the camshaft
  • Checking the rocker arms and shafts
  • Rockers
  • Installing the camshaft and rocker arms
  • - VALVES AND VALVE SPRINGS
  • Valve disassembly
  • Checking valves and valve guides
  • Checking valve seats
  • Checking the valve springs
  • Valve assembly
  • - CYLINDER AND PISTON
  • Piston disassembly
  • Checking the cylinder and piston
  • Checking the piston rings
  • Checking the piston pin
  • Piston and cylinder assembly
  • - CLUTCH
  • Clutch disassembly
  • Checking the friction plates
  • Checking the clutch discs
  • Checking the clutch springs
  • Checking the clutch box
  • Checking the clutch shoulder
  • Checking the pressure plate
  • Checking the push rods
  • Clutch
  • Checking the drive gear
  • Primary
  • Clutch assembly
  • - OIL PUMP AND COMPENSATOR GEAR
  • Removing the compensator gear and the
  • Oil pump
  • Checking the oil pump
  • Checking the compensator gear
  • Drive Gear Assembly
  • Compensator
  • Oil pump assembly
  • Balancer Gear Installation
  • - CHANGE AXIS
  • Checking the gear shaft
  • Checking the stop lever
  • Shift shaft assembly
  • - ELECTRICAL START
  • Checking the starter motor
  • Assembling the starter motor
  • - PICKUP COIL ROTOR AND ENGINE CLUTCH
  • - BOOT
  • Removing the pickup coil rotor
  • Checking the starter clutch
  • Pickup coil rotor installation
  • - CRANKCASE
  • Crankcase disassembly
  • Checking the crankcase
  • Crankcase assembly
  • - CRANKSHAFT ASSEMBLY
  • Disassembly of the crankshaft assembly
  • Removing the piston seal
  • Checking the crankshaft and connecting rod
  • Checking the timing chain,
  • Camshaft and chain guide sprocket
  • Distribution
  • Installing the plunger seal
  • Crankshaft assembly assembly
  • - GEARBOX
  • Disassembly of the gearbox
  • Checking the shift forks
  • Checking the shift drum assembly
  • Checking the gearbox
  • Assembling the forks and drum assembly
  • Exchange
  • FUEL SYSTEM
  • - FUEL TANK
  • Checking the fuel cock
  • - CARBURETOR
  • Checking the carburetor
  • carburetor assembly
  • Carburetor assembly
  • - AIR INDUCTION SYSTEM
  • Checking the air induction system
  • ELECTRIC SYSTEM
  • - IGNITION SYSTEM
  • Electric diagram
  • Troubleshooting
  • - ELECTRICAL STARTING SYSTEM
  • Electric diagram
  • Circuit cutting system operation
  • Boot
  • Troubleshooting
  • - CHARGING SYSTEM
  • Electric diagram
  • Troubleshooting
  • - LIGHTING SYSTEM
  • Electric diagram
  • Troubleshooting
  • - SIGNALING SYSTEM
  • Electric diagram
  • Troubleshooting
  • - CARBURETOR HEATER SYSTEM
  • Electric diagram
  • Troubleshooting
  • - ELECTRIC COMPONENTS
  • Checking the switches
  • Checking bulbs and sockets
  • Checking the fuse
  • Checking and charging the battery
  • Checking the relays
  • Checking the turn signal relay
  • Diode check
  • Checking the spark plug cover
  • Checking the ignition coil
  • Checking the pickup coil
  • Checking the stator coil
  • Checking the rectifier/regulator
  • Checking the horn
  • Checking the thermostat switch
  • Checking the carburetor heater
  • TROUBLESHOOTING
  • - TROUBLESHOOTING
  • General information
  • Startup failures
  • Incorrect engine idle
  • Low performance at medium and high regimes
  • Faulty gear shift
  • The shift pedal does not move
  • The marches jump
  • Broken clutch
  • Overheating
  • Poor brake performance
  • Damaged front fork bars
  • Unstable driving
  • Faulty lighting or signaling system
  • ELECTRICAL DIAGRAM OF THE XG250